Adventure Travel Packing Checklist 2026: What to Bring

Ever stared at a half‑filled backpack and wondered if you’ve forgotten the one thing that could ruin an entire trek? You’re not alone. Packing for adventure travel is a delicate dance between staying light and staying safe.
As a former Intel engineer turned full‑time adventure planner, I’ve learned the hard way that every ounce counts — especially when you’re trekking the Patagonian Andes or navigating the rugged trails of the Dolomites. This guide gives you a proven, item‑by‑item checklist that works for any multi‑day expedition in 2026.
What’s the biggest mistake travelers make when packing?
Most people either over‑pack “just in case” or under‑pack and end up buying gear at inflated prices on the road. The solution? A systematic, category‑based checklist that you can adapt to any destination.
What gear categories should you consider?
Below is the master list broken into ten essential categories. For each, I’ll note the minimum you need, a recommended upgrade, and a budget‑friendly alternative.
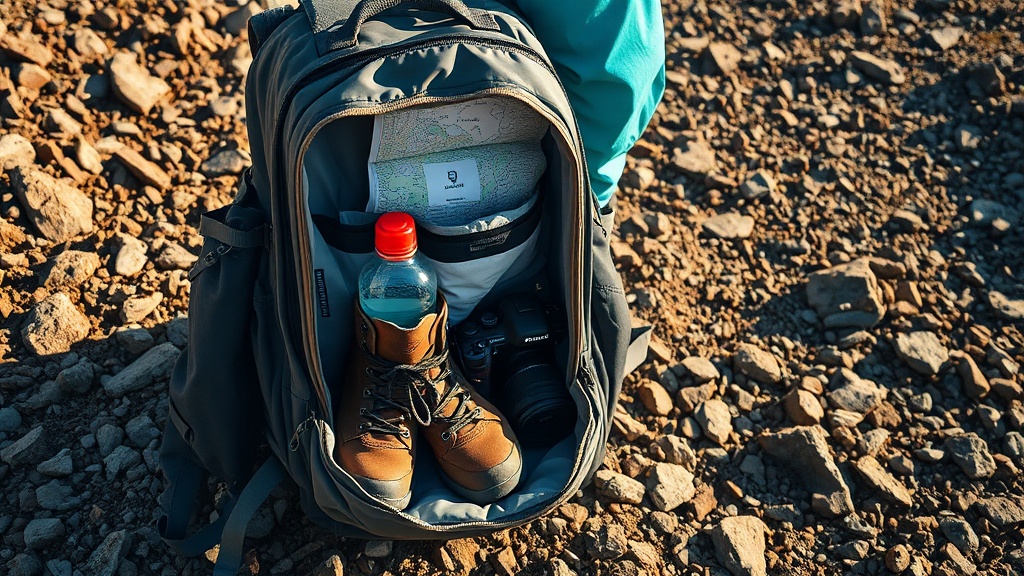
1. Shelter & Sleep System
- Minimum: Ultralight 2‑person tarp (e.g., REI Co‑op 2‑Person Shelter Tarp) — $120.
- Upgrade: Freestanding ultralight tent (e.g., Zpacks Duplex) — $650.
- Budget Alternative: Hammock with rainfly (e.g., ENO Apex) — $200.
2. Insulation
- Minimum: Down sleeping bag with 30 °F rating (e.g., Western Mountaineering UltraLite) — $450.
- Upgrade: 0 °F rating down bag for high‑altitude treks — $650.
- Budget Alternative: Synthetic bag (e.g., Marmot Trestles) — $180.
3. Clothing System
Follow the 3‑layer principle: base, insulation, shell. Pack one set per day, plus spares for wet weather.
- Base: Merino wool top & bottom — $120.
- Insulation: Fleece or down jacket — $150.
- Shell: Waterproof breathable jacket & pants — $200.
4. Footwear
- Minimum: Sturdy, broken‑in hiking boots with good ankle support — $180.
- Upgrade: Lightweight trail runners for fast‑packing — $150.
- Budget Alternative: Mid‑range hiking shoes (e.g., Salomon X Ultra) — $130.
5. Navigation & Electronics
- GPS device or smartphone with offline maps (e.g., Garmin GPSMAP 66s) — $350.
- Paper topographic map of the region — $30.
- Compact power bank (10,000 mAh) — $40.
6. Food & Cooking
- Lightweight stove (e.g., MSR PocketRocket) — $45.
- Fuel canisters (appropriate for region) — $20 per day.
- Reusable silicone bowl & spork — $15.
- Calorie‑dense freeze‑dry meals — $8‑12 per meal.
7. Water Treatment
- Portable filter (e.g., Sawyer Squeeze) — $35.
- Backup chemical tablets — $10.
8. Safety & First‑Aid
- Compact first‑aid kit (include blister care, bandages, pain relievers) — $25.
- Personal locator beacon (PLB) or satellite messenger — $200.
- Whistle, multi‑tool, and headlamp with extra batteries — $40.
9. Miscellaneous Essentials
- Travel‑size toiletries (toothbrush, biodegradable soap) — $10.
- Lightweight pack rain cover — $20.
- Micro‑fiber towel — $12.
- Passport, travel insurance documents (digital copy on phone + paper) — free.
10. Optional Comfort Items
- Ultralight camp pillow — $15.
- Compact camera or action cam — $300 (optional).
- Travel journal — $12.
How do I actually pack everything efficiently?
- Step 1 — Lay out every item on a flat surface. This visual audit prevents hidden items from sneaking in later.
- Step 2 — Pack heavy items (shelter, food, water) close to your spine and low in the pack. It improves balance and reduces strain.
- Step 3 — Use compression sacks for sleeping bag and clothing. They cut volume by up to 50%.
- Step 4 — Fill gaps with soft items (towels, clothing). No empty space means a more stable load.
- Step 5 — Secure external gear (stove, water filter) in zip‑top pockets. Keep them accessible but protected from rain.
- Step 6 — Perform a “shake test.” Walk around with the packed bag; if it swings wildly, redistribute weight.
What are the pro tips that save weight without sacrificing safety?
- Swap a traditional tent for a tarp‑plus‑hammock combo on moderate terrain — saves 2‑3 lb.
- Use a spoon‑shaped spork that folds flat — saves space.
- Carry a single‑use water filter straw for emergency refills — reduces bulk.
- Pre‑portion meals into zip‑lock bags to avoid extra containers.
- Invest in a carbon‑fiber trekking pole set — lighter than aluminum and doubles as a pole‑spear for emergencies.
What common packing mistakes should I avoid?
- Over‑packing “just in case.” It adds weight and forces you to move slower.
- Neglecting rain protection. A wet pack adds 30 % weight instantly.
- Skipping a PLB or satellite messenger. In remote areas, a missed SOS can be fatal.
- Using non‑water‑proof bags for electronics. A simple dry‑bag can save a $300 camera.
- Forgetting to test gear before the trip. Broken straps or faulty stoves are costly on the trail.
What’s the final takeaway?
By following this checklist, you’ll shave unnecessary pounds, stay prepared for emergencies, and keep your budget in check. Remember: the goal isn’t to travel with the lightest pack possible, but to carry exactly what you need to stay safe, comfortable, and focused on the adventure.
Related Reading
- Adventure Trip Planning Checklist: 7 Things to Do Before You Book — a broader pre‑trip planning guide.
- The 8‑Week Trek Training Plan I Use Before Every Big Trip — get in shape before you load that pack.
- The Shoulder Season Cheat Code — learn how to save on travel dates, freeing up budget for gear upgrades.