Finding Your Rhythm with Solo Adventure Photography
Most people think you need a professional camera crew or a tripod-wielding partner to capture high-end adventure shots. They’re wrong.
This post breaks down how to master solo adventure photography by focusing on gear weight, timing, and technical setups that don't require a second person. You'll learn how to manage your kit without slowing down your pace, how to use automated tools to replace a human assistant, and how to budget for the gear that actually matters.
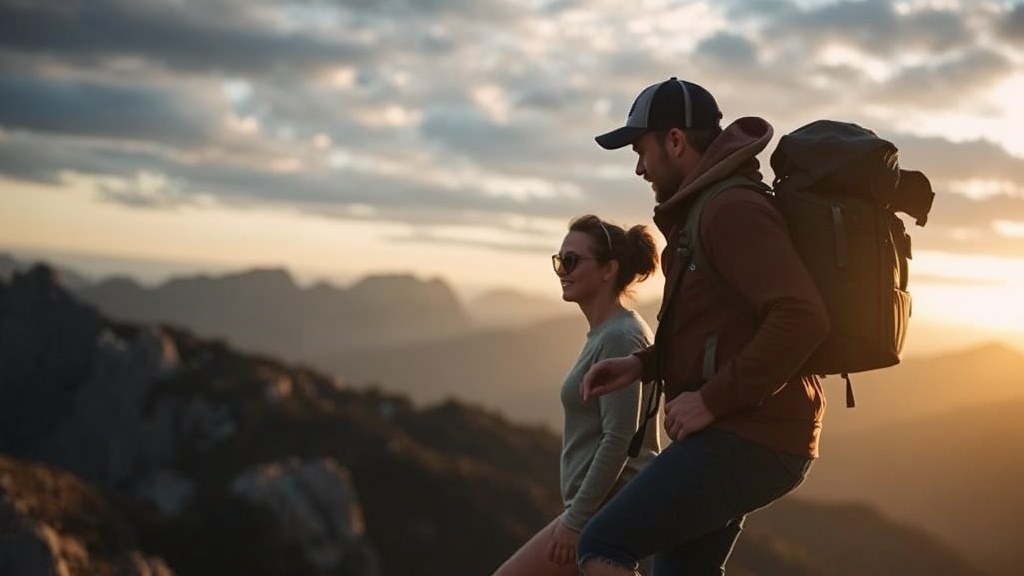
When you're out in the field—maybe you're halfway up a ridge in the Dolomites or waiting for a break in the clouds in the Andes—your biggest enemy isn't the weather. It's the weight of your gear. If your camera setup is too heavy, you won't take the shot. If it's too flimsy, you'll miss the light. Finding a rhythm means balancing the desire for a "perfect" shot with the reality of your physical endurance.
I've spent years optimizing my pack for weight. I used to carry a heavy DSLR and a massive tripod everywhere, thinking it would make me look more professional. It just made me slow and tired. Now, I focus on a lean, high-performance kit that allows me to move fast and react to the moment.
How Much Does Solo Adventure Photography Gear Cost?
The cost of solo adventure photography gear varies wildly depending on whether you prioritize portability or image quality, but a mid-range setup usually requires an investment of $2,500 to $4,000.
Don't go out and buy the most expensive kit just because a YouTube reviewer said it's "the best." That's a trap. Most of the time, you're paying for features you'll never use in the middle of a mountain pass. You need gear that survives a drop, resists dust, and doesn't weigh five pounds. I always recommend looking at the official product specifications for any lens or body before you buy to check the weight and weather sealing. If it's not weather-sealed, don't bother.
Here is a breakdown of what a realistic, high-quality kit looks like for someone with a full-time job and a serious travel budget:
| Item Type | Recommended Mid-Range Option | Estimated Cost (USD) | Why It Matters |
|---|---|---|---|
| Camera Body | Sony α7 IV or Fujifilm X-T5 | $1,800 - $2,500 | Weather sealing and fast autofocus. |
| All-Purpose Lens | 24-70mm f/2.8 or 24-105mm f/4 | $700 - $1,200 | One lens to cover most scenarios. |
| Lightweight Tripod | Peak Design Travel Tripod | $350 - $400 | Stability without the bulk. |
| Storage/Power | SanDisk Extreme Pro Cards | $50 - $100 | Fast write speeds for high-res files. |
Worth noting: I’ve seen people spend $8,000 on a setup only to realize they can't carry it up a 14,000-foot peak. The math doesn't add up. If you can't carry it, you won't use it. If you're planning a trek, check out my previous breakdown on budgeting for a high-altitude trek to see how gear costs fit into a larger expedition budget.
What Is the Best Way to Take Photos of Yourself Solo?
The best way to capture yourself in an adventure setting is to use a combination of a lightweight tripod, a remote shutter release, and a camera with reliable eye-tracking autofocus.
You don't need a photographer. You need a plan. When I'm out exploring places like Raja Ampat, I'm not always looking for a person to take my photo. I'm looking for the light. If you want to be in the frame, you have to become the director of your own scene. This requires more preparation than a standard photoshoot.
First, get a sturdy, lightweight tripod. I prefer the Peak Design Carbon Fiber series because it folds down small and stays stable in high winds. Second, use a remote or a smartphone app to trigger the shutter. This lets you step away from the camera and actually interact with your environment instead of hovering over a timer.
Here is my workflow for solo shots:
- Scout the light: Don't just set up the tripod and hope for the best. Look at where the sun is hitting the ridge.
- Set the interval: Most modern mirrorless cameras have an interval timer. Set it to take a shot every 3-5 seconds.
- The "Action" Test: Before you walk away, do a test shot. Check if you're actually in focus. It's a pain to walk 50 yards back to the camera only to find the focus missed.
- Use a wide-angle lens: A 16-35mm lens is your best friend here. It gives you more "room" in the frame, making it more forgiving if you don't stand in the exact right spot.
It's a bit of a dance (and a lot of trial and error), but once you find your rhythm, you'll stop feeling awkward and start feeling capable.
How Do I Protect My Gear in Harsh Environments?
Protecting your gear requires a multi-layered approach involving weather-sealed bodies, dry bags, and careful temperature management.
If you're hiking through a rainforest or trekking through a desert, your gear is constantly under attack. Moisture, dust, and extreme temperature swings are the real killers. I've seen more expensive gear die from humidity in Southeast Asia than from actual drops on a trail.
The first rule: If your camera isn't weather-sealed, treat it like it's made of glass. Even if you have a "pro" body, use a dedicated rain cover or even a simple plastic bag when the weather turns.
A few quick tips for field maintenance:
- The Silica Trick: Always keep a few silica gel packets in your camera bag. They soak up the residual moisture that gets trapped inside when you move from a hot, humid jungle to a cool, air-conditioned lodge.
- Lens Hoods are Non-Negotiable: A lens hood isn't just for sun glare. It's a physical shield against raindrops and stray debris.
- Cleaning Kits: Carry a small blower and a microfiber cloth. Don't use your shirt to wipe a lens—it's a recipe for scratches.
The catch? You can't carry everything. If you're trying to optimize your weight for a long-distance trek, you have to decide what is a "must-have" and what is a "nice-to-have." I’ve learned that a single versatile lens is always better than three specialized ones that force you to carry extra weight. If you're planning a trip that involves heavy movement, read my guide on planning your first multi-day trekking adventure to understand how gear-weight impacts your overall success.
When you're out there, the goal isn't to have the most expensive gear in the group. The goal is to have the gear that actually makes it to the summit with you. Focus on the experience, use what works, and don't let the pursuit of the perfect shot distract you from the actual adventure.
Steps
- 1
Set up a stable tripod base
- 2
Use a remote shutter or timer
- 3
Focus on natural light cycles
- 4
Practice candid movement shots