The Ultimate Patagonia Adventure Itinerary: Trekking, Glaciers, and Wild Landscapes Without Regret

Patagonia isn’t a destination you casually visit—it’s a place you commit to. Stretching across southern Chile and Argentina, this region rewards travelers who plan well, move intentionally, and embrace a bit of discomfort in exchange for some of the most dramatic landscapes on Earth.
This itinerary is built for travelers who want the full Patagonia experience: iconic treks, glacier encounters, and enough flexibility to adapt when the weather inevitably does its own thing.
Why Patagonia Demands a Real Plan
Patagonia is not forgiving. Distances are long, weather shifts quickly, and logistics can quietly eat into your trip if you underestimate them. What looks like a short hop on a map often turns into a full travel day.
The payoff? Few places combine raw wilderness and accessibility this well. You can stand at the base of granite towers one day and walk alongside a massive glacier the next.
When to Go (And When to Avoid)
The prime window is November through March, Patagonia’s summer. Expect longer daylight hours and better trail conditions—but also wind that feels like it’s testing your commitment.
Shoulder seasons (October and April) offer fewer crowds and dramatic light, but you’ll need to accept colder nights and the chance of trail closures.
Day 1–2: Arrival and Base Setup in Puerto Natales
Fly into Punta Arenas, then transfer to Puerto Natales. This small town is your gateway to Torres del Paine and where you’ll finalize gear, food, and permits.
Use this time to:
- Double-check reservations for refugios or campsites
- Rent any missing gear
- Adjust your plan based on weather forecasts
Don’t rush out. A relaxed start reduces costly mistakes once you’re inside the park.
Day 3–7: Torres del Paine W Trek
The W Trek is Patagonia’s most famous route for a reason. It delivers a concentrated hit of the region’s highlights without requiring advanced mountaineering skills.
Key sections include:
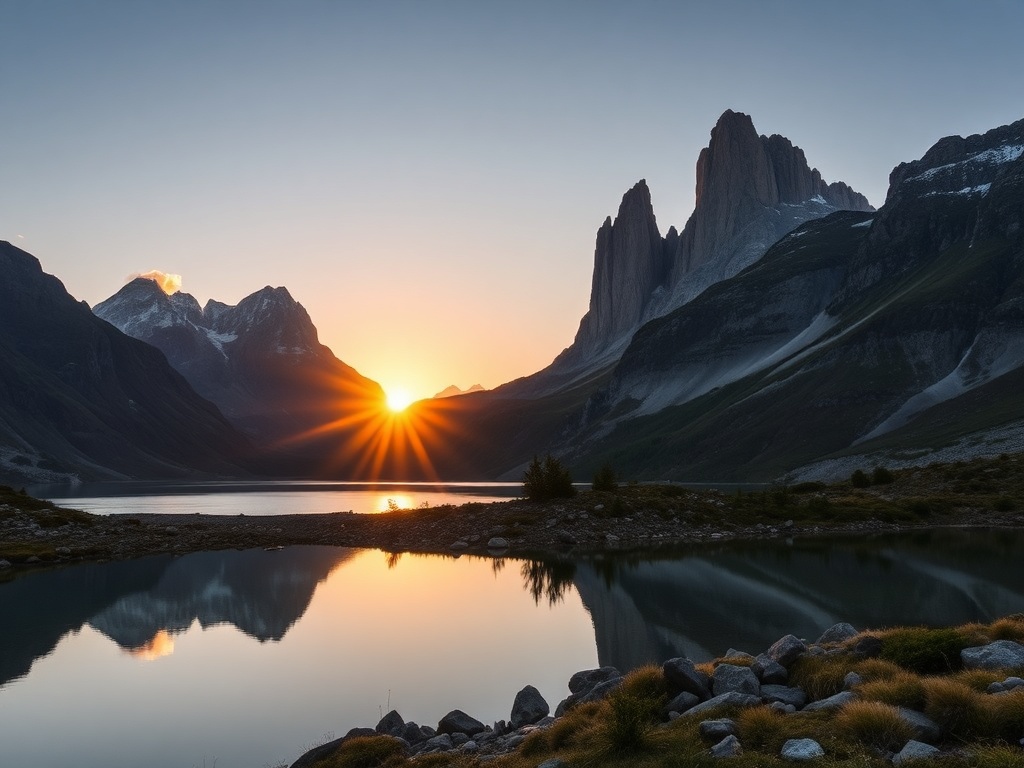
- Base of the Towers: A steep climb ending with a sunrise view that justifies the early alarm.
- French Valley: A dramatic amphitheater surrounded by hanging glaciers.
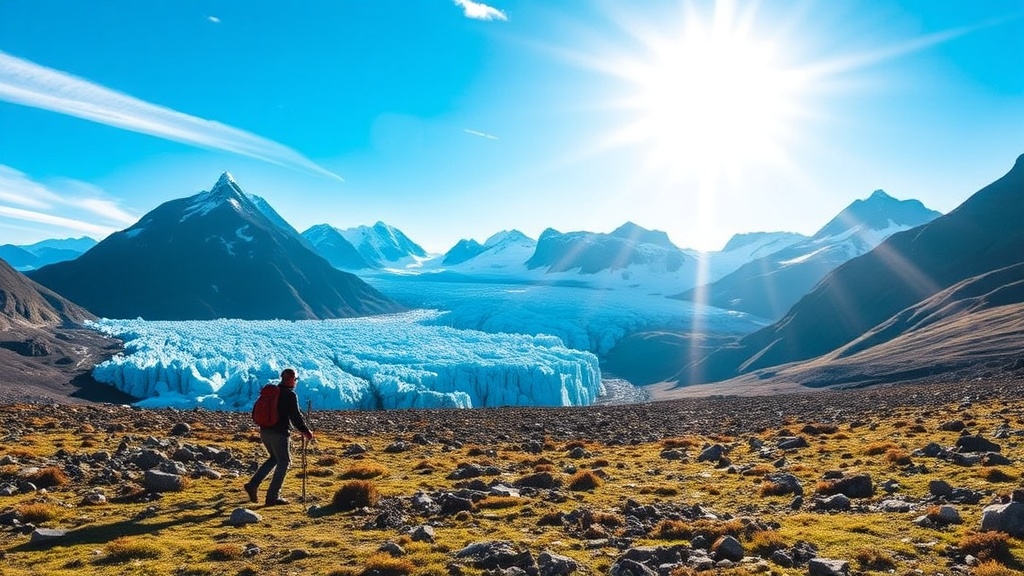
- Grey Glacier: A massive wall of blue ice stretching into the distance.
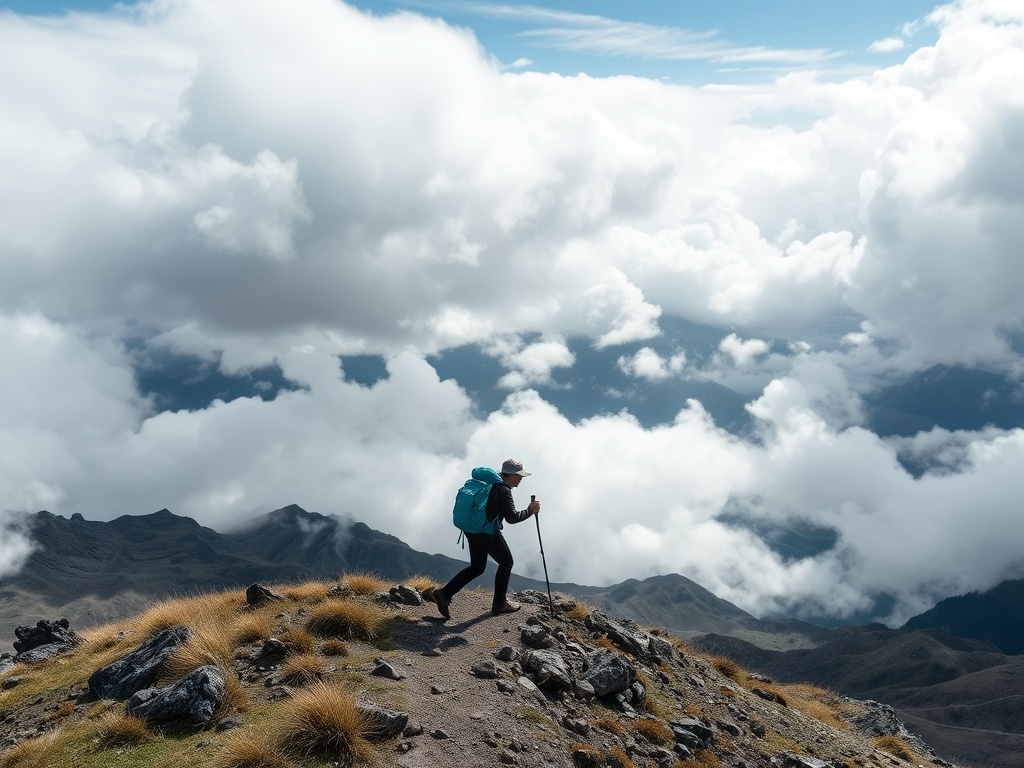
Expect changing weather, long days, and moments where the wind forces you to stop and laugh at how small you feel.
W Trek Strategy That Actually Works
Most people underestimate how much energy the wind and terrain drain. Build in buffer time where possible.
Practical tips:
- Start early each day—afternoon winds are stronger
- Pack lighter than you think you need
- Book refugios in advance if you want flexibility with weather
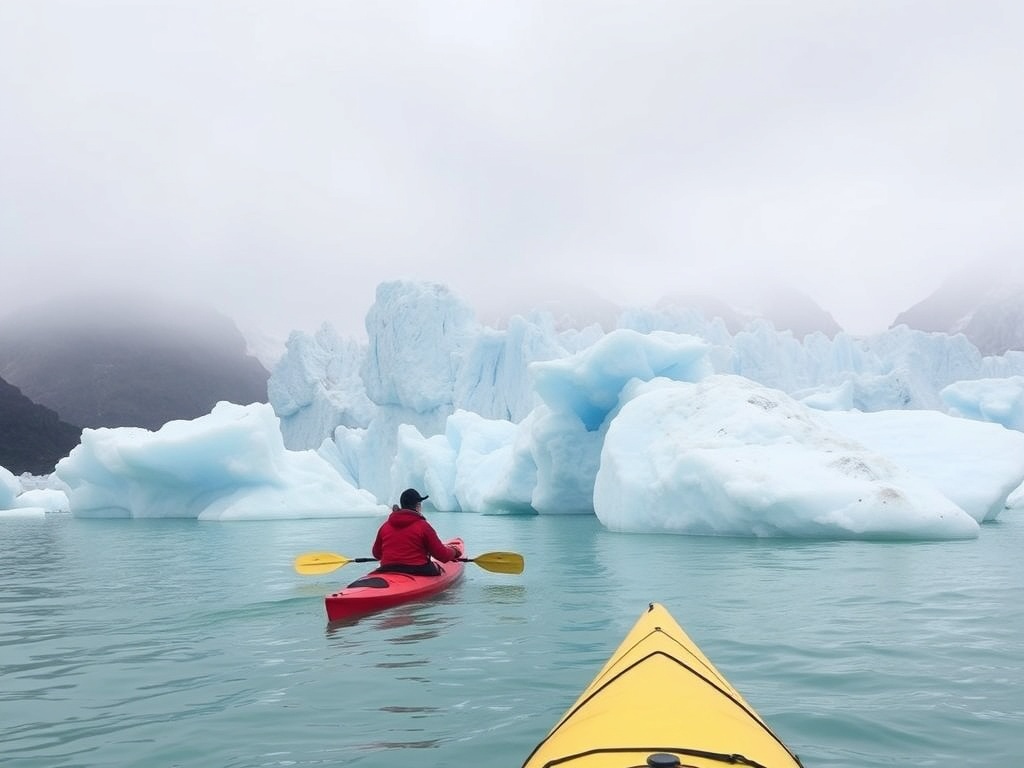
Day 8–9: Glacier Grey or Kayaking Extension
If you have the time, extend your stay to explore Grey Glacier more deeply. Options include ice hiking or kayaking among floating icebergs.
This is where Patagonia shifts from scenic to surreal. The scale of the ice field is hard to process until you’re right next to it.
Day 10–11: Travel to El Calafate (Argentina)
Cross the border into Argentina and head to El Calafate. The journey itself is part of the experience—wide open steppe, distant mountains, and the occasional guanaco sighting.
El Calafate is more developed than Puerto Natales, making it a good place to reset before the next phase.
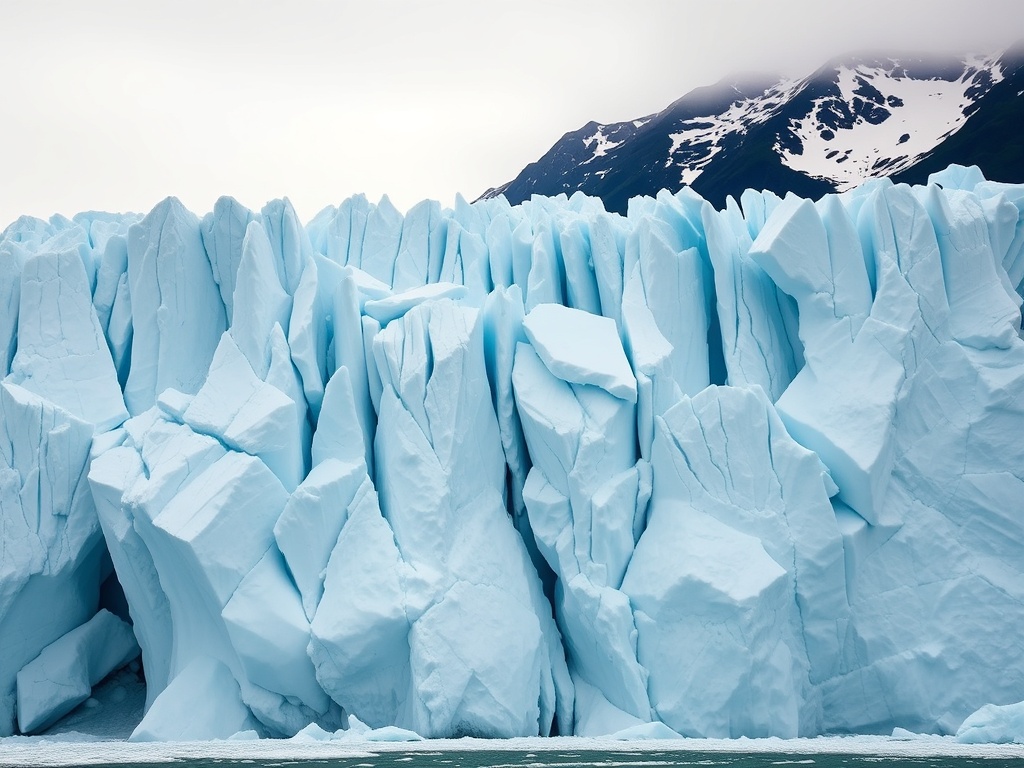
Day 12: Perito Moreno Glacier Up Close
Perito Moreno is one of the few glaciers in the world that is still advancing. You can hear it before you fully see it—deep cracks followed by thunderous ice falls.
Walk the boardwalks for different angles, then consider a boat tour or ice trek to get closer.
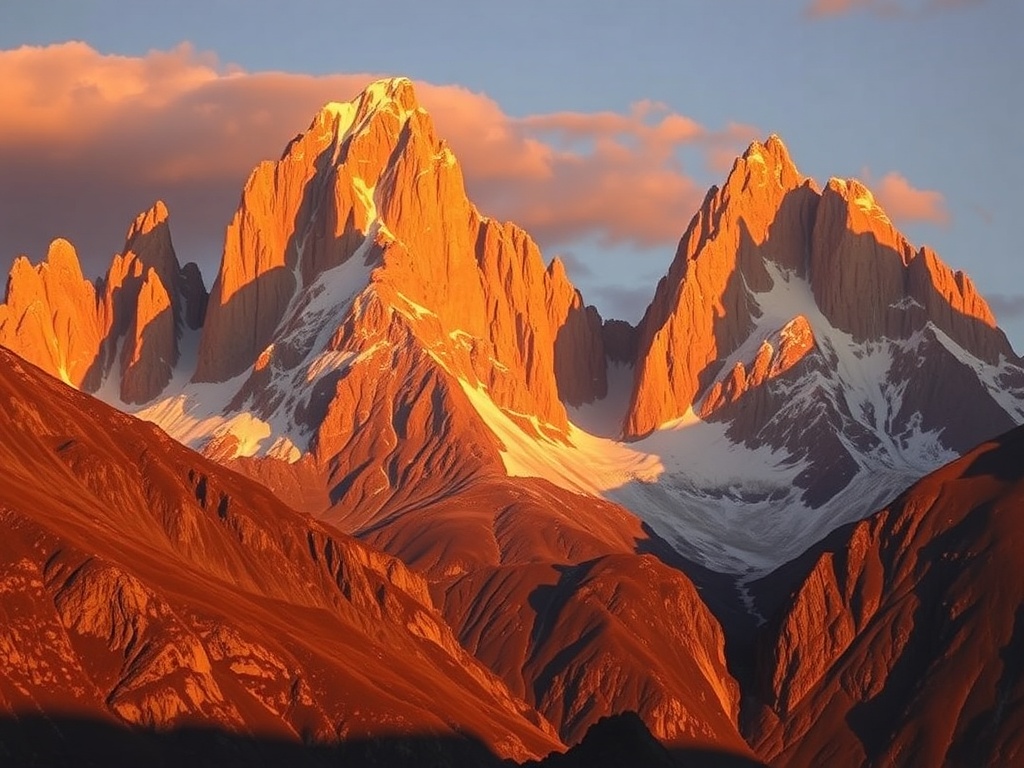
Day 13–15: El Chaltén and Fitz Roy Trekking
El Chaltén is Patagonia’s trekking capital, with trails that start directly from town. No permits, no gates—just pick a direction and go.
Must-do hikes:
- Laguna de los Tres: The classic Fitz Roy viewpoint
- Laguna Torre: A quieter alternative with equally striking scenery
The trails here feel different—less structured, more exploratory, and just as rewarding.
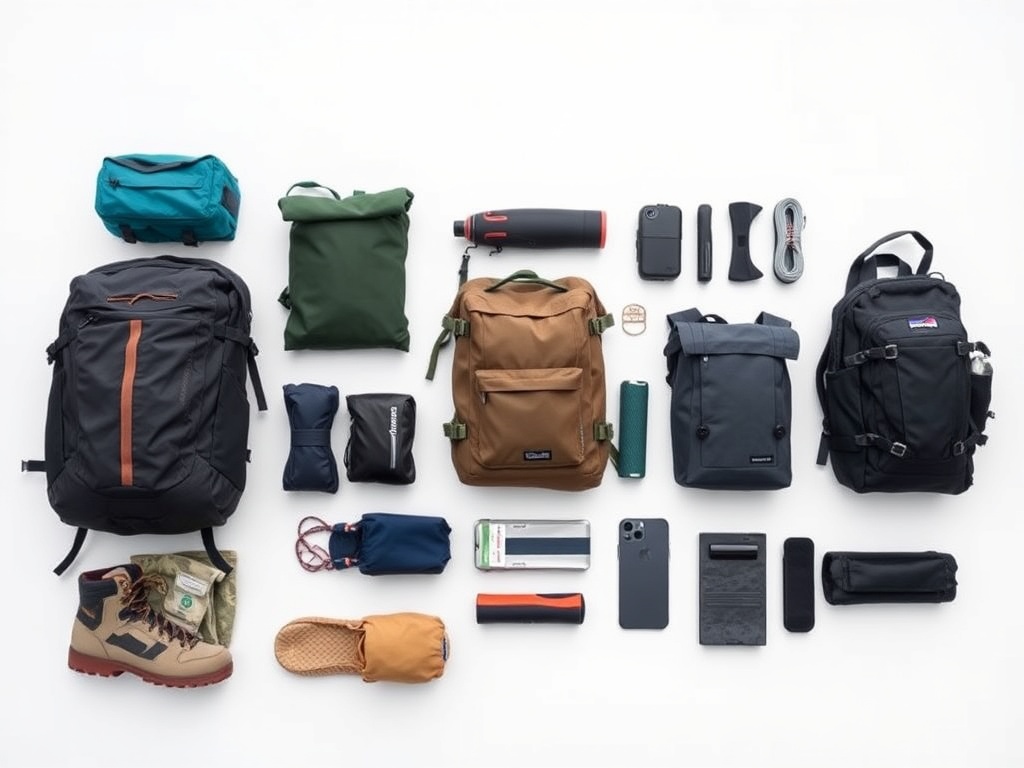
How to Pack Without Overpacking
Patagonia punishes overpackers. Every extra kilogram becomes noticeable on long climbs.
Focus on:
- Layering system (base, insulation, shell)
- Windproof outerwear
- Reliable footwear with grip
Skip "just in case" items. You’ll thank yourself on day three.
Budget Reality: What This Trip Actually Costs
Patagonia isn’t cheap. Between park fees, transport, and accommodations, costs add up quickly.
Rough breakdown for a 2-week trip:
- Flights: $800–$1,500 depending on origin
- Park fees and permits: $100–$300
- Accommodation and refugios: $50–$200 per night
- Food and logistics: $30–$80 per day
You can trim costs by camping and booking early, but this is a trip where cutting corners often reduces the experience.
What Most Travelers Get Wrong
The biggest mistake is trying to do too much. Patagonia rewards depth, not speed.
Common missteps:
- Underestimating travel times
- Ignoring weather buffers
- Overpacking gear they never use
A slightly slower itinerary almost always leads to a better experience.
Final Thoughts: Why Patagonia Stays With You
There’s a moment in Patagonia—usually when the wind dies for a few seconds and everything goes quiet—where you realize how rare this kind of place is. It’s not polished, not predictable, and that’s exactly why it works.
If you plan well and stay flexible, Patagonia delivers something that feels increasingly hard to find: genuine, untamed scale.